USB over network software, such as USB Network Gate and FlexiHub, offers the most reliable way to share an external USB drive over a network, letting a client see the drive in File Explorer or Disk Management as a locally attached device rather than a network share.
Native options exist too. Windows and macOS both include built-in file sharing features, and some routers offer a USB port for local network storage. Those cover basic file access on the same network well enough, but they fall short for virtual machines, RDP sessions, or any application requiring direct device-level access to the drive. I tested all four methods below.
The right choice depends on where the remote machine sits and what kind of access it needs.
Comparison: External USB Drive Sharing Methods
Built-in and router-based file sharing options solve a different problem from USB over Network software. SMB, macOS file sharing, and router USB ports are enough when users only need access to files, while USB over Network is better when a remote computer, VM, or RDP session must recognize the USB drive as a directly attached device. The table below shows which method fits each scenario.
| Scenario | Recommended method |
| Windows to Windows on the same LAN for file access | SMB file sharing |
| Access across different networks or the internet | USB Network Gate or FlexiHub |
| Same LAN with no software installation | Router USB port |
| USB device access from a VM | USB Network Gate or FlexiHub |
| No public IP, behind a NAT | FlexiHub (cloud-routed) |
| Access to a USB device from an RDP session | USB Network Gate or FlexiHub |
| Cross-platform host and client | USB Network Gate or FlexiHub |
Method 1: USB Over Network Software: USB Network Gate and FlexiHub
USB over network software is a comprehensive method that provides fully functional drive access to remote computers, virtual machines, or applications over a LAN or an internet connection. USB Network Gate supports direct connection over any IP-based network. FlexiHub leverages account-based connectivity, which typically eliminates the need for manual router configuration or a public IP address.
How to Share an External USB Drive with USB Network Gate
USB Network Gate lets a remote computer access a shared USB drive as if it were physically connected. It is a good fit for LAN, WAN, or internet connections where you can configure the server IP address and port, and it works well for virtual machines, RDP sessions, and applications that need device-level USB access.
USB Network Gate supports Windows, macOS, Linux, Android, and ARM-based systems such as Raspberry Pi. Windows and macOS users can use the free version to share one local USB device for non-commercial use, while Linux, Android, and ARM versions are available as 14-day trials.
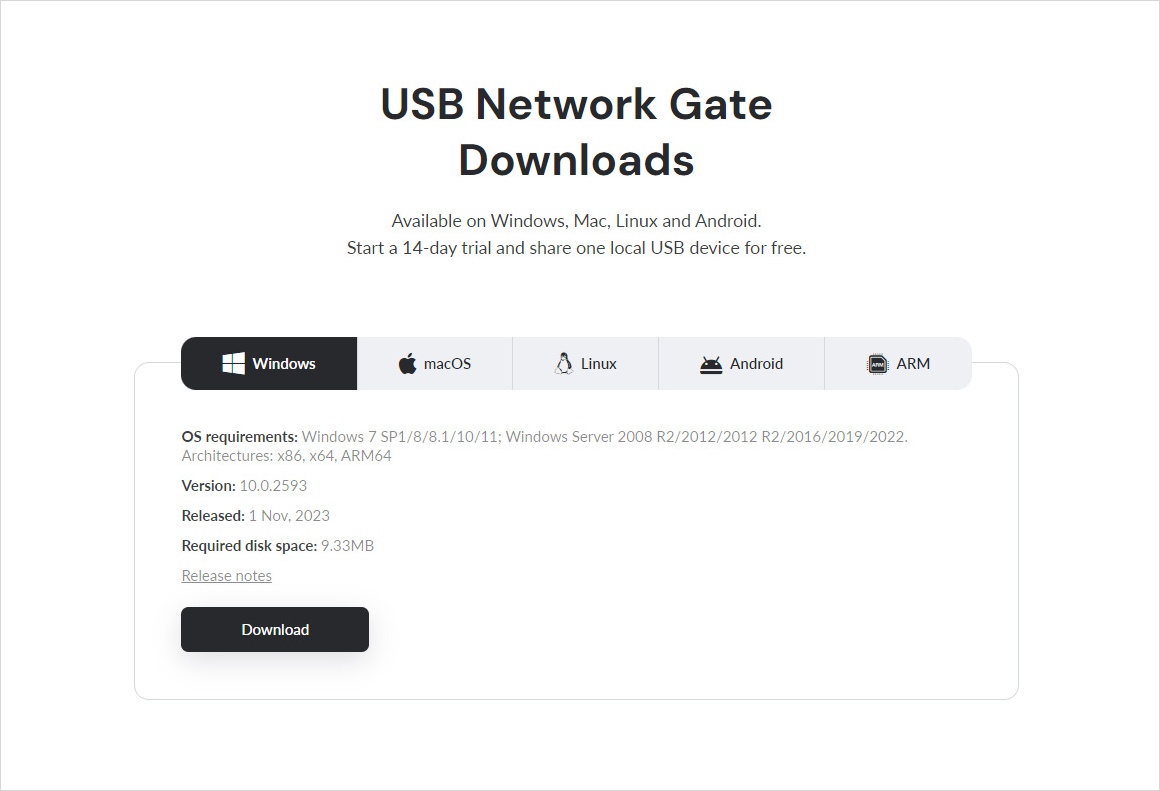
1. Download and install free USB Network Gate to a computer to which a USB drive is to be connected (server), and all the machines (clients) that will connect to the remote storage device.
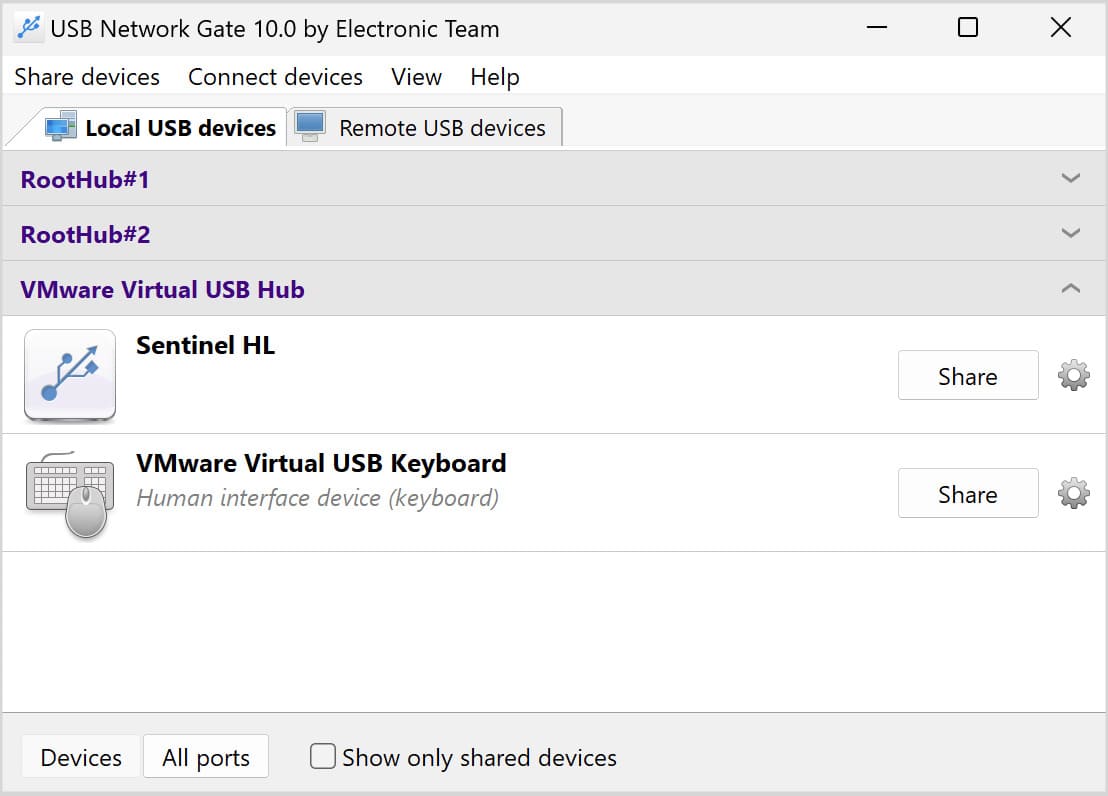
2. Launch USB Network Gate on the server and open the Local USB devices tab. Select a drive and click Share.
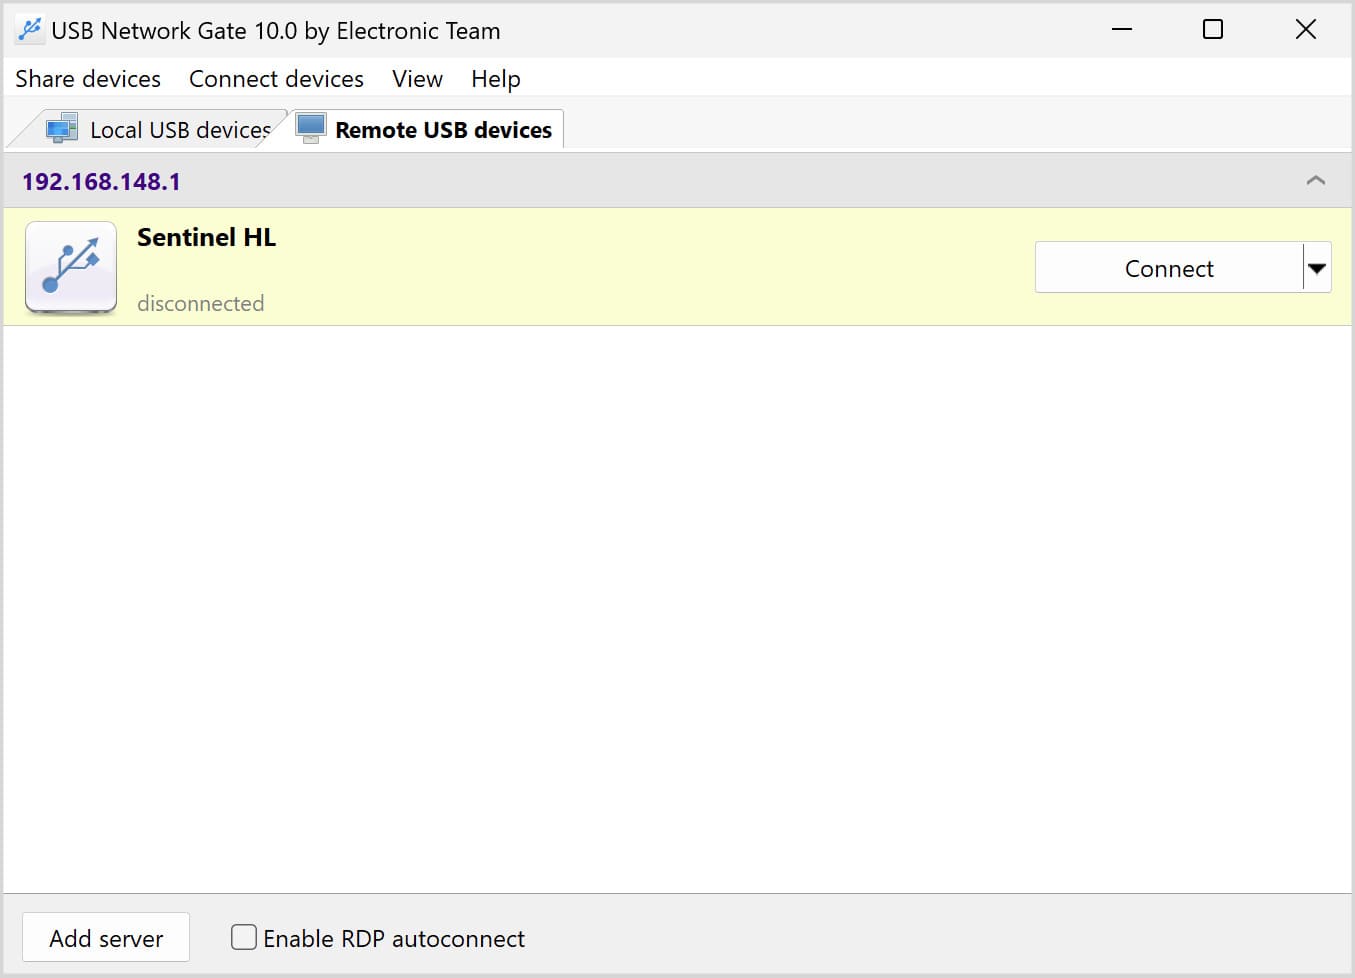
3. Start USB Network Gate on the client, and click Connect next to the shared USB drive.
How to Share an External Drive with FlexiHub
FlexiHub also provides device-level USB access, but it uses account-based connectivity instead of manual IP configuration. It is a better option when the USB drive needs to be accessed over the internet, across different networks, or from environments without a public IP address or port forwarding.
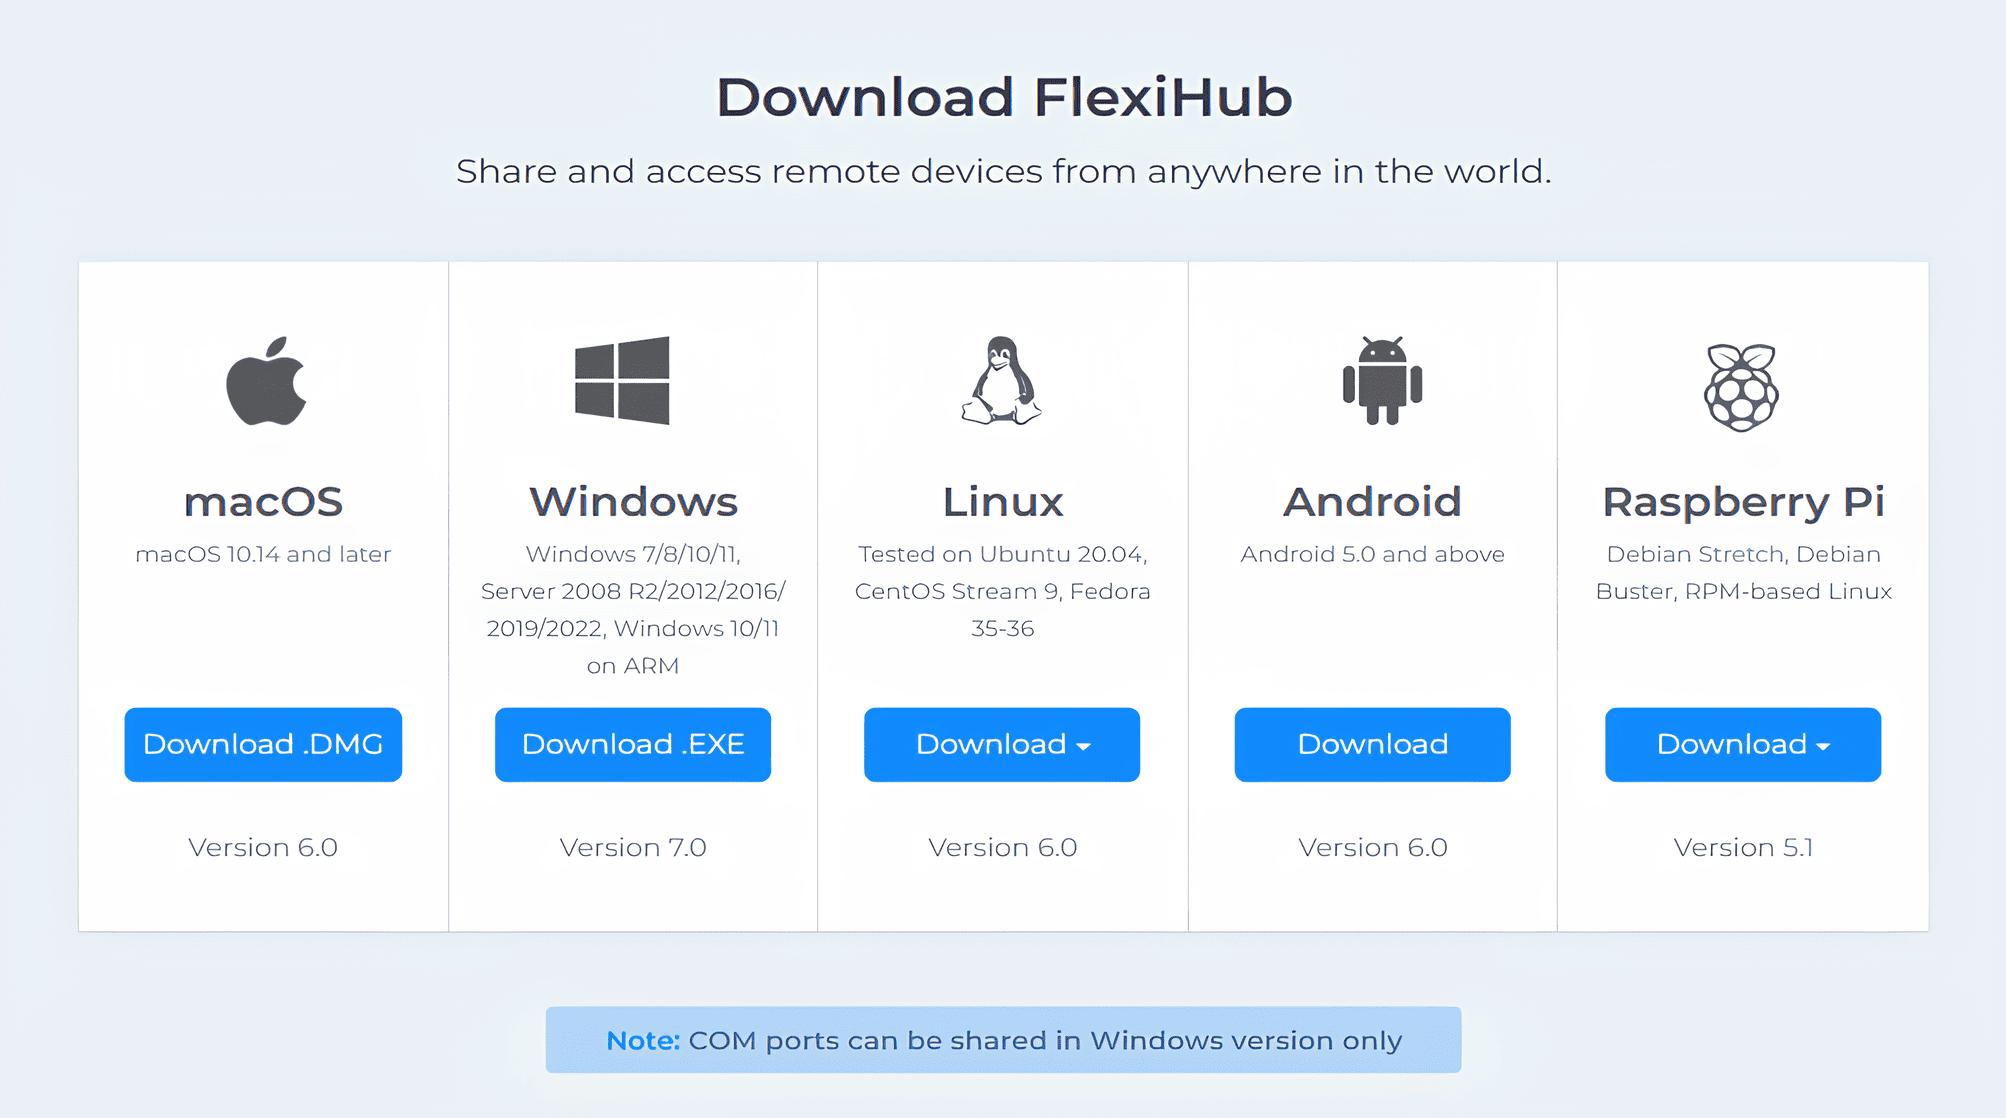
FlexiHub supports Windows, macOS, Linux, Android, and Raspberry Pi. It can automatically select a suitable connection mode, including direct, RDP, UDP, QUIC, or Tunnel Server connections, depending on the network conditions. A 30-day demo is available, with paid plans starting at $39.99 per month.
The following simple steps let you share a USB drive with FlexiHub.
1. Create a FlexiHub account at flexihub.com.
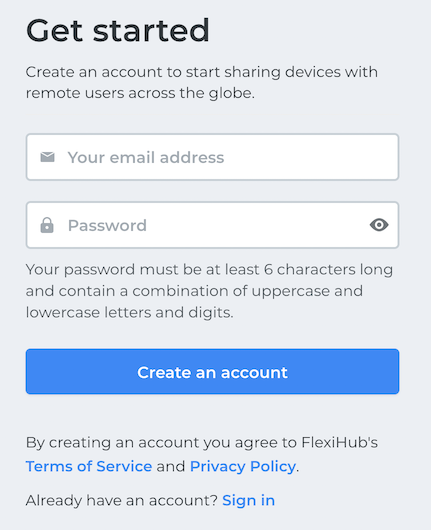
2. Download and install FlexiHub on both the host and client machines.
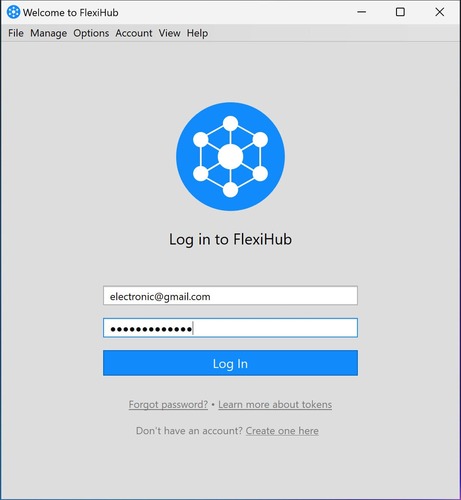
3. Log in to the same account on both machines.
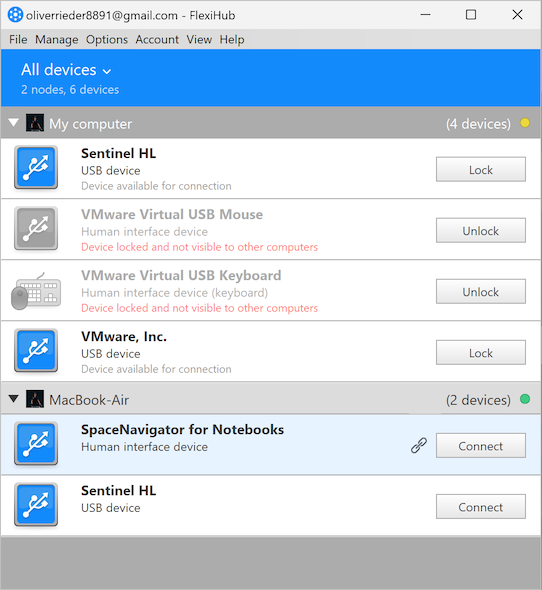
4. On the client, locate the drive in the device list and click Connect. The drive is recognized as a locally attached device.
Check out the video guide with the detailed steps on how to share hard drive over the network.
A 30-day demo is available for new accounts with paid plans beginning at $39.99 per month.
Method 2: Router USB Port
A router’s USB port lets you share an attached drive across a local network without installing any additional software. Use the following procedure to set up a router USB port.
- Connect a drive to the router’s USB port.
- Log in to the router’s admin interface.
- Enable sharing in the USB or Drive Storage section.
- On Windows systems, open File Explorer, right-click This PC, and map the network drive to the path created by the router.
Limitations: Router USB Port Method
- Supports local network access with remote access features and security varying by model.
- Only file access is supported, making this option unusable for applications that need driver-level access to the USB device.
- Performance is often much lower than the direct USB connection speed and is affected by the router’s CPU, firmware, and file-system support.
- Windows 11 returns “The network path was not found” error when attempting to connect to router-attached drives if the router only supports SMB 1.0, which the OS disables by default.
Method 3: Windows File Sharing (SMB)
Windows Server Message Block (SMB) file sharing uses a mapped drive path to make a USB drive available to other Windows machines reachable on the same local network. The host machine must remain powered on and physically connected to the drive. Clients can be members of the same workgroup or connect to the host via IP address or computer name, using valid server credentials.
How to Share a USB Drive with SMB on Windows
- Connect the USB drive to the host Windows PC.
- Set the active network connection to Private in Settings > Network & Internet.
- Open Control Panel > Network and Sharing Center > Change advanced sharing settings, then turn on Network discovery and File and printer sharing under the Private profile.
- In File Explorer, right-click the USB drive or a folder on it, select Properties, open the Sharing tab, and click Advanced Sharing.
- Check Share this folder, enter a share name, and click Permissions.
- Add the Windows user account that will connect from the client computer. Use Read for file viewing or Change/Modify if users need to create, edit, or delete files. Avoid granting Everyone Full Control unless necessary.
- On the client computer, open File Explorer and connect to the share using:
\\computername\share_name
or\\IP_address\share_name - Enter the host credentials when prompted, using:
computername\username
orIP_address\username - To make the share easier to access later, right-click This PC, select Map network drive, enter the same path, and enable Reconnect at sign-in.
Method 4: macOS File Sharing and Connecting to Network Drives
The macOS Finder app allows you to connect to a shared network drive via the Connect to Server dialog.
Connect to a Shared USB Drive in macOS
- Open Finder and press Cmd+K.
- Enter the network path. The Windows format is smb://192.168.1.10/ShareName. On macOS, use smb://MacName.local/ShareName or smb://Mac_IP_address/ShareName.
- Click Connect.
- Enter the login credentials for the host machine.
- The shared drive will be mounted and displayed in the Finder sidebar.
Reconnect the Shared Drive Automatically at Login
- Connect the shared drive using the steps above.
- On macOS Ventura and later, open System Settings, go to General, then Login Items.
- On older macOS versions, open System Preferences, go to Users and Groups, then Login Items.
- Click the + button, select the mounted network drive, and click Add.
- macOS will try to reconnect the drive at login as long as the host machine is online and reachable on the network. If the host is unavailable, the connection may fail until the machine becomes available again.
Share a USB Drive from macOS
- Connect the USB drive to the host Mac.
- Open System Settings and go to General, then Sharing.
- Turn on File Sharing and click the information button.
- Click the + button under Shared Folders, then add the USB drive or a folder on it.
- Under Users, select the accounts that can access the shared drive and set permissions to Read Only or Read & Write.
- Click Options and make sure SMB file sharing is enabled to allow Windows computers to connect.
- Connect to the share from a remote computer using smb://Mac_IP_address/ShareName or smb://MacName.local/ShareName.
Frequently Asked Questions
USB Network Gate and FlexiHub both support cross-platform connections to share a USB hard drive. Just install either application on both computers and share the drive on the Windows side. Connect to the shared drive from the Mac. You can implement SMB-only sharing by enabling file sharing on the Windows host and using Finder to connect from the Mac.
SMB only shares a drive’s file system, enabling remote computers to read and write files to it over a network path. USB over IP shares the actual device. Remote computers get the same functionality as with a direct physical connection. USB over IP supports applications such as backup utilities and VM USB passthrough that require direct device enumeration.
Network Gate offers Windows and macOS users a free tier that lets them share a single local USB device indefinitely for non-commercial use. FlexiHub provides a 30-day demo with up to 5 simultaneous connections for new accounts, depending on the country where the software is used. Native SMB sharing tools that enable local network file access are included in the Windows and macOS operating systems.