Sharing a USB microphone with multiple computers can be challenging. USB devices are directly linked to the local machine’s hardware, unlike printers or files, which can be more easily shared using operating system functionality.
Many users need remote microphone access from multiple computers to support streamers, remote technical teams, as well as musicians and their producers. They need to find an effective method to share a USB microphone over a network.
Two primary techniques are available for sharing network microphones.
- Software solutions can be employed that leverage virtualization technology to establish virtual connections over a LAN or the Internet.
- Hardware solutions utilizing USB-over-IP servers can be used to emulate a USB port, allowing for the sharing of a microphone.
This guide examines both methods of sharing a microphone over IP and discusses why software like USB Network Gate offers the most efficient solution.
USB Microphone Sharing via Software: USB Network Gate
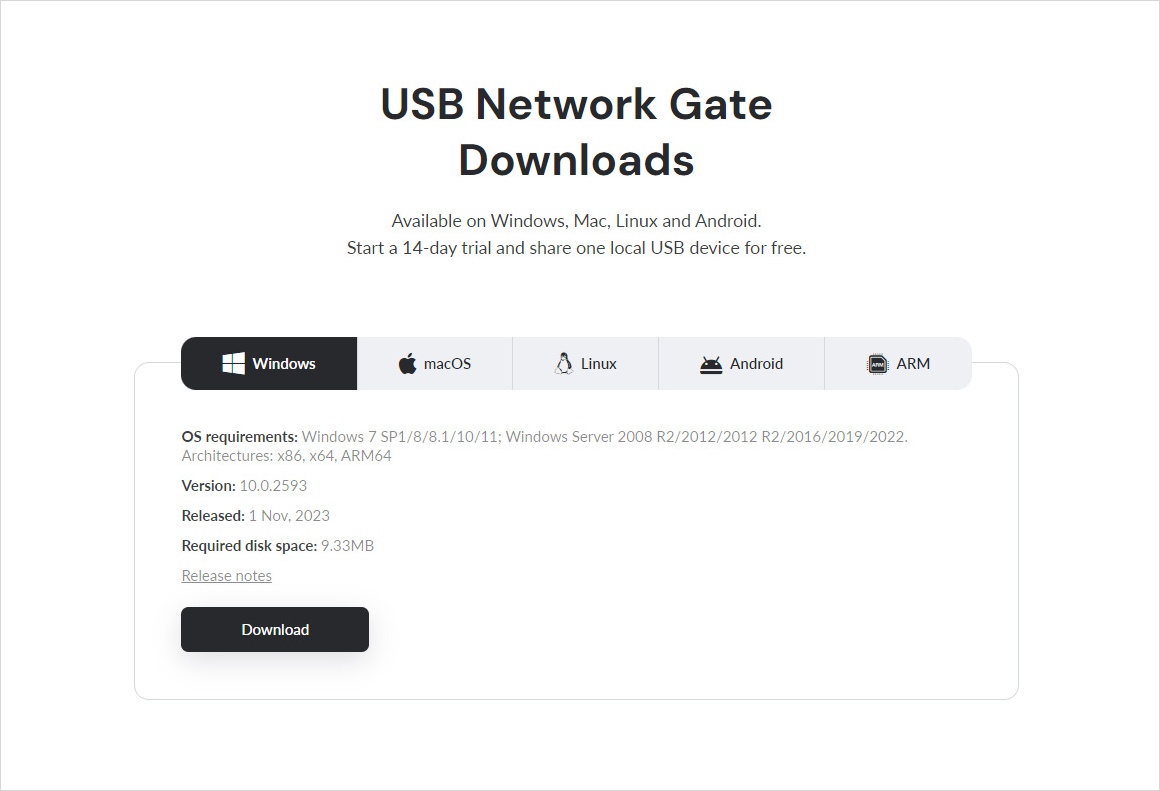
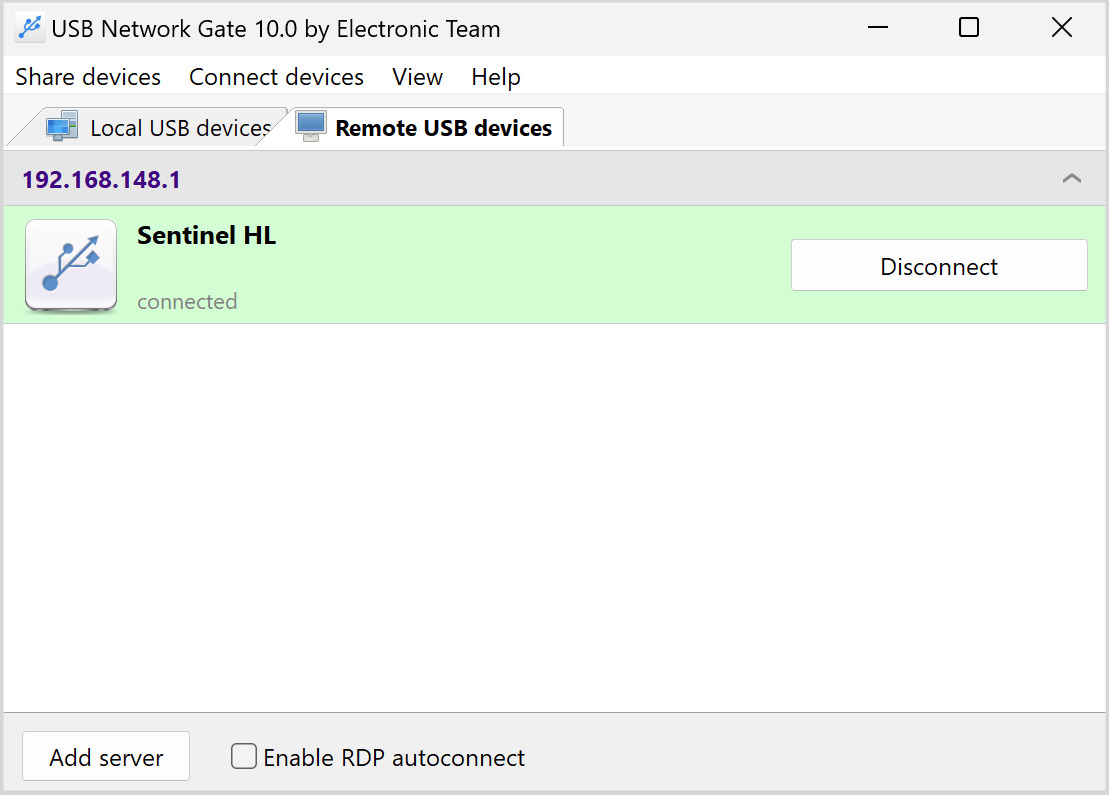
USB Network Gate is a cross-platform software solution that enables USB devices to be redirected over IP networks, such as Wi-Fi, a LAN, or the Internet. After establishing the connection, the remote user gains full functionality over the microphone as if it were connected locally. This solution does not require client-side configuration or special device drivers.
Benefits USB Network Gate for Sharing a Network Microphone
The software is easy to use, with no additional drivers or client configuration tasks required.
The tool’s cross-platform support for Windows, Linux, and macOS lets you share an Ethernet microphone in mixed environments.
Native encryption prevents unauthorized access to your audio streams.
Virtually all USB microphones are compatible with USB Network Gate.
The software supports sharing a USB microphone over a network in Remote Desktop Protocol (RDP) sessions.
Steps to Enable a Microphone With USB Network Gate


Hardware Solution for Sharing USB Microphones Over a Network
Hardware devices offer an alternative for connecting a USB microphone over a network. The devices are available under various names such as USB device servers, USB-over-IP servers, or terminal servers.
These small boxes are equipped with a network interface and typically have one to four USB ports available to connect a USB microphone. Once attached to the device server, you can make the LAN microphone available to other network-connected users. The device uses its associated software to emulate a USB port on the client computer.
Popular brands of device servers include:
Benefits of a Hardware Solution for USB Mic Sharing
- It is suitable for networks that limit software installation.
- The connection remains active, regardless of the host machine’s status.
- Hardware eliminates the need to install software on the host machine.
Drawbacks of Using Hardware for Microphone Sharing
- The setup complexity may involve network configuration, driver installation, and assigning static IP addresses.
- Reliable USB servers may be more expensive than software alternatives.
- Hardware makes it challenging to isolate sessions.
- The device server may demonstrate limited compatibility with some USB audio devices, resulting in excessive buffering or latency.
- You add another device and cables to your workspace.
Final Thoughts: Software is the Better Option
We believe the best way to share a USB microphone over the network is with a software solution. USB Network Gate’s simplicity, stability, and cross-platform functionality enable you to efficiently share a USB microphone without the need for additional hardware or cable clutter.
USB Network Gate is a secure, flexible, and modern solution for redirecting USB audio across multiple machines attached to any IP-based network.
FAQ
You need to verify that audio redirection is enabled in the RDP settings. Make sure the necessary microphone drivers have been installed on the remote computer. Ensure system permissions allow access to the microphone and set it as the default input device. For a full list of troubleshooting steps, check out RDP microphone not working guide.
A USB mic splitter is a device that enables a single USB microphone to be shared simultaneously on multiple computers or applications.
Use USB redirection software, such as USB Network Gate, which facilitates RDP support for microphone redirection. Ensure your network bandwidth is sufficient to handle smooth audio transmission.
