How to Print to Local Printer from Remote Desktop

The most flexible way to achieve RDP printer redirection is USB Network Gate. It provides more options than native printer redirection, and acts like a direct USB connection, which can help if your printer relies on legacy software or can’t get natively redirected at all.

Why Choose USB Network Gate for Remote Desktop Printing?

USB Network Gate is a tool for device sharing over a local network or IP. When using it, data is captured directly from a USB port and sent to another USB Network Gate instance, which creates a virtual USB port and makes it look like the device is connected directly to the remote computer.

This has numerous advantages over native RDP printer redirection. For instance, if you’re printing with a legacy driver or suite of tools that can only run on the server, and doesn’t work well with RDP redirection, USB Network Gate may be your only way to print over RDP.

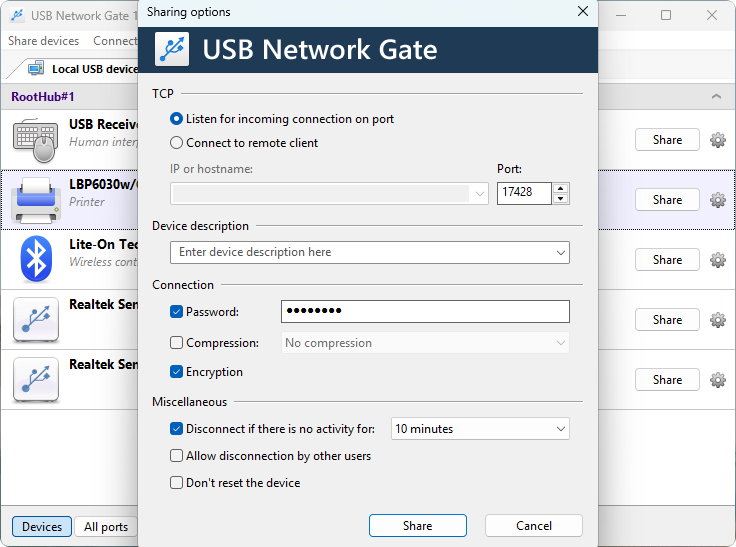
Advanced redirection settings in USB Network Gate

On top of everything, USB Network Gate offers settings for encryption, password protection, and device isolation (useful in multi-user environments). This gives it a clear security advantage over Remote Desktop printing methods like EasyPrint.

USB Network Gate is easy to set up, and can be used without changing any group policies. There is a free version that can be used indefinitely to share a single device.

How to Print to Local Printer from Remote Desktop

1. Request a code for the free version.
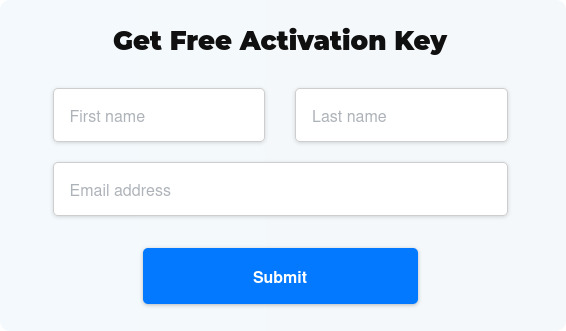
The activation key request page

2. Download and install USB Network Gate.
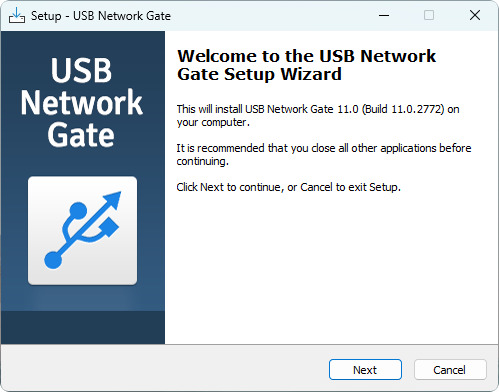
USB Network Gate setup

3. Activate it using the code you received via email.
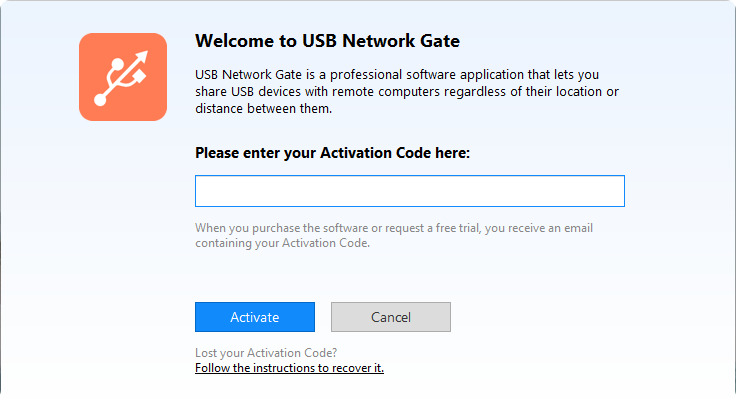
USB Network Gate activation screen

4. Share the printer using the “Share” button in the device list.
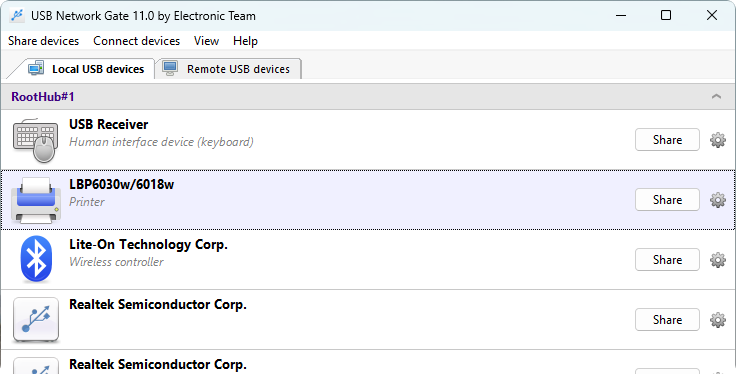
The printer has appeared on the device list

5. Start an RDP session. Make sure to disable native printer redirection so it doesn’t interfere with USB Network Gate.
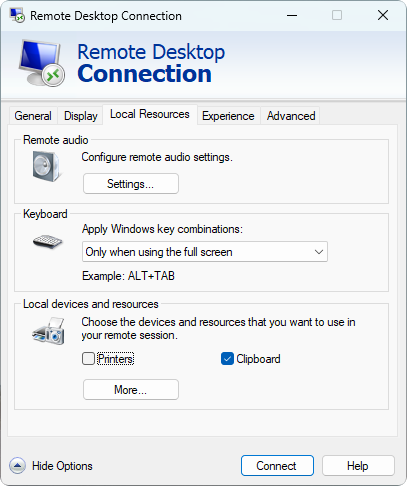
"Printers" is disabled under "Local Resources"

6. Install USB Network Gate on the RDP, using the “…will only connect to devices” option. Restart the machine if necessary and reconnect.

7. In the remote session, launch USB Network Gate and select “Connect” next to the printer.
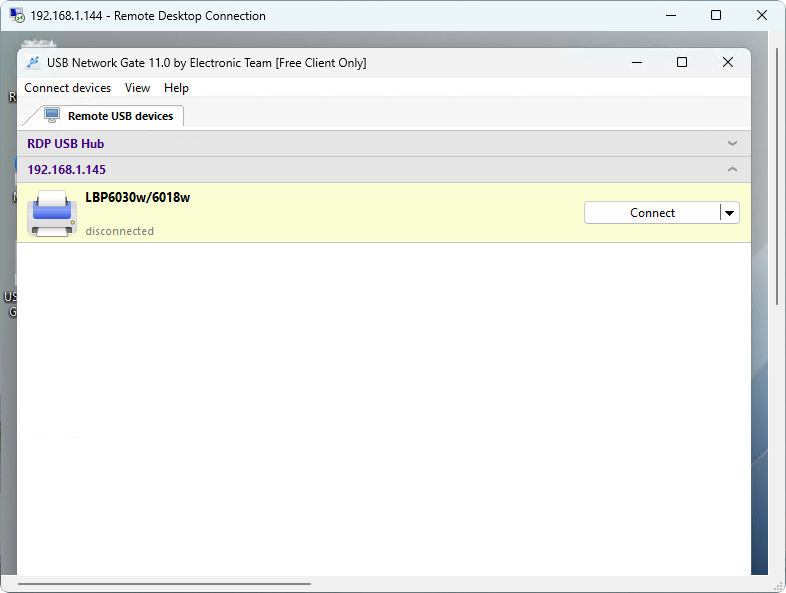
The shared printer is available for connection

8. You can now use Windows settings to either automatically find the printer, or add it manually using the newly added virtual USB port.
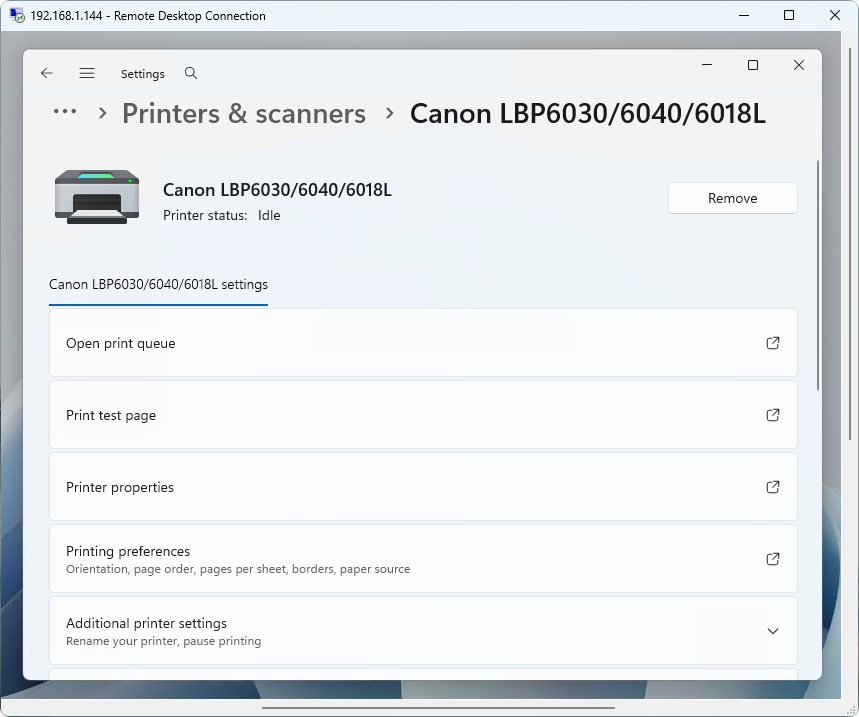
The connected printer in Windows Settings